Pages

Gsm sandwich the number 1 GSM forum in Philippines

Gsm sandwich the number 1 GSM forum in Philippines
Gsm sandwich the number 1 Gsm forum in Philippines. Powered by Waps

Friday, October 15, 2010

IPHONE AND IPODTOUCHED has been disabled! clear solution inside!

STEP 1

iphone or ipodtouched must be previously activated in  itunes


if not activated


you will not succed on this procedure

STEP 2

Download and install iPhone browser HERE!

STEP 3

soft reset

Press and hold both the Sleep/Wake button and the Home button 


 wait till turn off

 release  Sleep/Wake button and the Home button 

then power up


STEP 4

open up iphone browser...located at start/all programs/iphone browser...

then click on var...


then click on keychain folder


then delete the file keychain-2.db


after deleting the file

close the iphone browser...then unplug and turn off the ipodtouched or iphone...

power up the iphone or ipodtouched then your on the menu or springboard...

the lockcode or passcode has been removed

Backing Up iPhone Fast And Easy

idevice must be jailbroken (cydia installed)
use iphone browser (latest)


procedure

idevice must connected to pc,
close itunes
open iphone browser
go to the data you need to backup (contacts, sms, etc.)

and here are the locations of the data on iphone browser


SMS: /Var/Mobile/Library/SMS

Contacts /User/Library/AddressBook

Mail: /Var/Mobile/Library/Mail

Calendar: /Var/Mobile/Library/Calendar

Call History: /Var/Mobile/Library/CallHistory

Notes: /Var/Mobile/Library/Notes

Safari: /Var/Mobile/Library/Safari


go to 

library/address/

copy and save it to your computer


after jailbreaking or restoring

copy the files that you saved  and put it back 


Thursday, October 14, 2010

How to Create Free iPhone Ringtones with iTunes [How to Guide]

STEP 1: Download iTunes 10 from here.


STEP 2: Setup iTunes 10 then launch it.

STEP 3: Choose your favorite song which you want to make it as a ringtone.


STEP 4: Right-click on the selected song, then select "Get Info", and then select "Options" tab.


STEP 5: Now you have to choose your favorite 30 seconds segment then click "Ok" (max. 30 seconds).

STEP 6: Right-click again on your favorite song and select "Create AAC version", now iTunes will create your 30 seconds segment.


STEP 7: Now choose the new 30 seconds song you created then right-click on it and select "Show in Windows Explorer" if you are Windows user or "Show in Finder" if you are Mac user.


STEP 8: Change the extension of the new 30 seconds song your created from .m4a to m4r. , you will promoted with this message, click "Yes".


STEP 9: Double click on the song, it will be opened automatically on iTunes ringtones.


STEP 10: Now simply sync your iPhone with iTunes to add your new favorite ringtone. Enjoy !


How to Unlock iPhone 4 on iOS 4.1 with Ultrasn0w [Guide]

Have you jailbroken your iPhone 4 yet? Of course, yes! Limera1n tool has been released yesterday and it works with iPhone 4 very well (at least for me). If you have iPhone 4, you can upgrade to iOS 4.1without updating the baseband then unlock it using Ultrasn0w. In case you already upgraded to iOS 4.1 while preserving your baseband, you will not be able to use this guide, just wait for a new Ultrasn0w update.
How to upgrade to iOS 4.1 while preserving your baseband 01.59.00

STEP 1: Download TinyUmbrella latest version from here and iOS 4.1 for iPhone 4 from here. or  Close iTunes or any other application.

STEP 2: Close iTunes & connect your iPhone 4 to your PC then launch TinyUmbrella and select “Run as administrator”. If you got a Windows Security Alert, check both boxes and click on “Allow Access”.


STEP 3: Hit “Start TSS Server”. While the TSS Server is running well, TinyUmbrella will kill iTunes.


STEP 4: Now launch iTunes and click on the iPhone icon at the left sidebar of iTunes then hold left “alt” button (“Shift” button on Windows) + Shift from the keyboard. Point it to the iPhone 4.1 firmware you already download.


STEP 5: iTunes will go in a bunch of steps to restore your device to iOS 4.1, it should give you error 1004 which indicates that the baseband is preserved successfully.

STEP 6: Get back to TinyUmbrella and hit “Kick Device Out of Recovery” to get your device out of Recovery Mode. Or Simply click on "Kick Device Out of Recovery" from TinyUmbrella


After upgraded your iPhone 4 to iOS 4.1 While Preserving Baseband 01.59.00.


proceed to jailbreak


STEP 7: First, you will need to jailbreak your device using Limera1n jailbreak tool from Geohot by following the step by step guide posted here.

STEP 1: Download Limera1n for Windows from here.

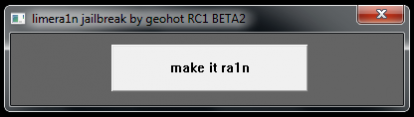
STEP 2: Connect your iPhone to your PC via USB then launch Limera1n and hit “make it ra1n”


STEP 3: You will have to get your device into DFU mode by following the steps on the screen shown by Limera1n.


  • You iPhone will now be placed in recovery mode.

Press both the power and the home buttons.


When Limera1n asks you to, release the power button.


Your phone will now be in DFU mode


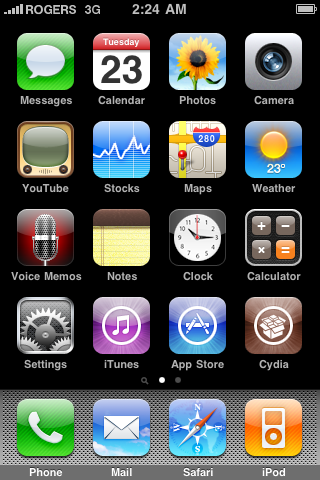
STEP 4: Now, Limera1n app should be shown on your iPhone's home screen. Limera1n will pwn your device forever now.


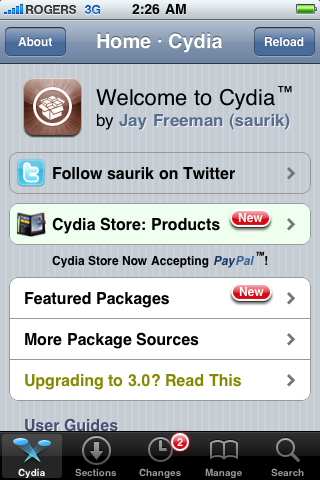
STEP 5: The jailbreak should be done now. Tap on the limera1n icon on your device and install Cydia.

proceed to unlock

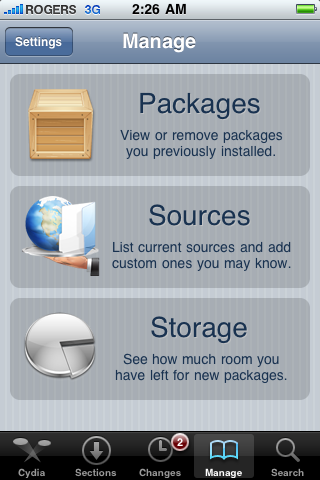
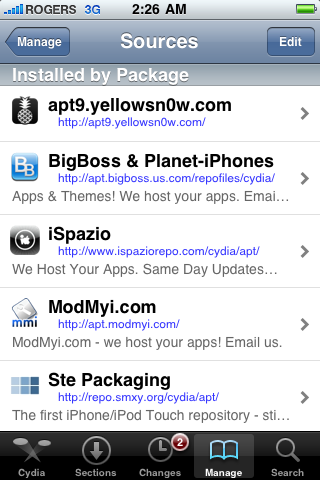
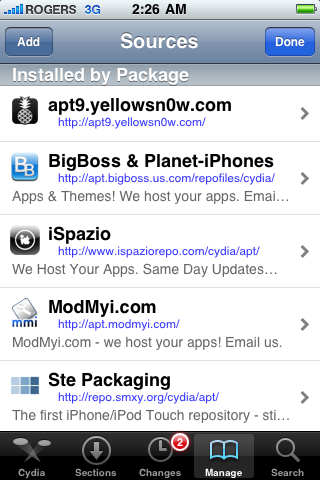
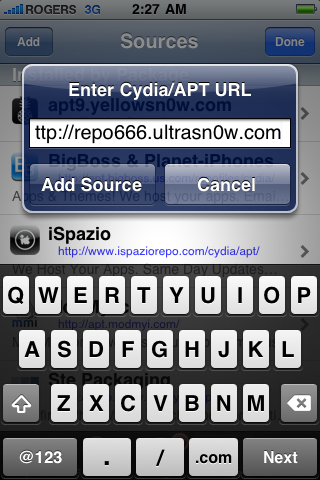
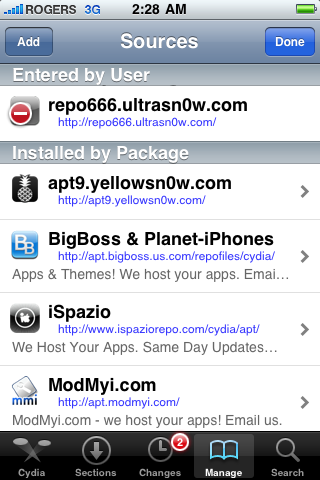
STEP 8: After jailbreaking, open Cydia and touch on Manage >> Sources >> Edit and hit the Add button on the top. Type http://repo666.ultrasn0w.com then hit “Add Source”.


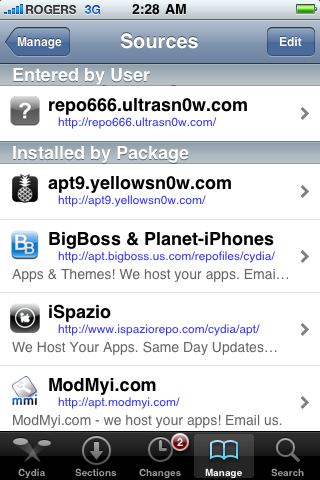
STEP 9: After installing the repo, go back to Cydia and search for Ultrasn0w, tap on it and it will be installed automatically.


done


Wednesday, October 13, 2010

How to: Solve "Diffrent SIM Detected" after Jailbreak!

if your iPhone stuck on Emergency Mode after jailbreaking and unlocking


Download and Install iFunbox software HERE

Run the Software and Sync with iPhone

Now go to /private/var/root/Library/ and delete orginal lockdown folder and put attached lockdown folder HERE

At last reboot your iPhone

------------------------------------------

via wifi 3Gs

1. After jailbreaking, launch Cydia
2. Go to manage/sources, tap edit/add
3. type cydia.pushfix.info/ , add source
4. tap done, browse newly added source Pushfix.info
5. choose Hacktivation Patch (lockdownd), install
6. done.

---------------------------------------------------


How to Unlock the iPhone 4, 3GS, 3G Using UltraSn0w

These are instructions on how to unlock the iPhone 4, iPhone 3GS, and iPhone 3G for use with any GSM cellphone carrier using UltraSn0w. This will work with the iOS 4.0 firmware.

Before you can follow these instructions you must have a 
jailbroken iPhone and you must be on the 04.26.08, 05.11.07, 05.12.01, 05.13.04, or 01.59 baseband(modem firmware).

To find your firmware and modem firmware(baseband) versions you can follow 
this tutorial.

If you are on T-Mobile remember to turn off 3G before starting...

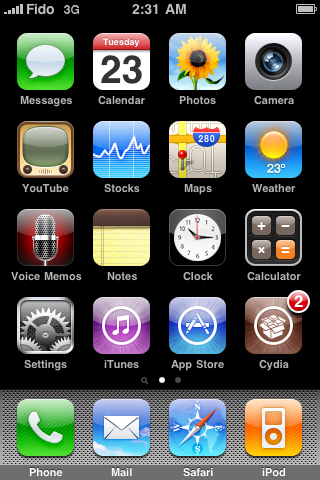
Step One
Press to launch 
Cydia Installer from your SpringBoard.


Step Two
Press to select the 
Manage tab at the bottom of the screen.


Step Three
Press to select the large 
Sources button


Step Four
If the ultrasn0w repo is not present press the 
Edit button at the top right of the screen. Otherwise, skip to Step Nine.


Step Five
Press the 
Add button at the top left of the screen.


Step Six
Enter 
http://repo666.ultrasn0w.com/ as the source url and press the Add Source button.


Step Seven
Once the source has been added press the large 
Return to Cydia button.


Step Eight
Press the 
Done button at the top right of the screen.


Step Nine
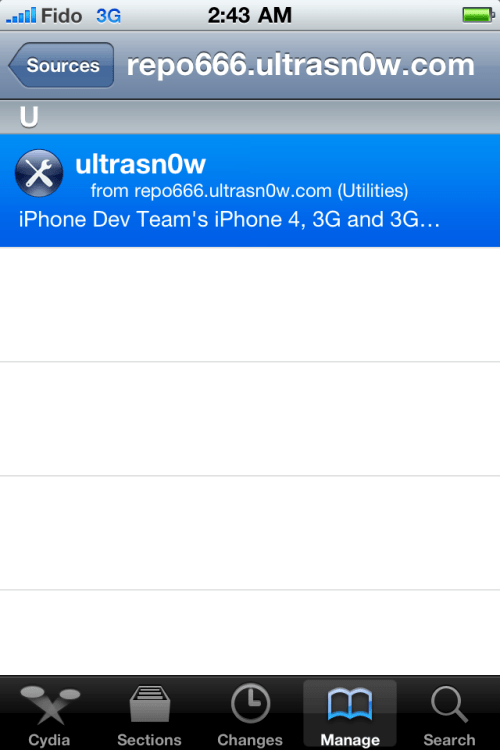
Press to select 
repo666.ultrasn0w.com from the list of user entered sources.


Step Ten
Press to select 
ultrasn0w from the list of packages


Step Eleven
Press the 
Install button at the top right of the screen.


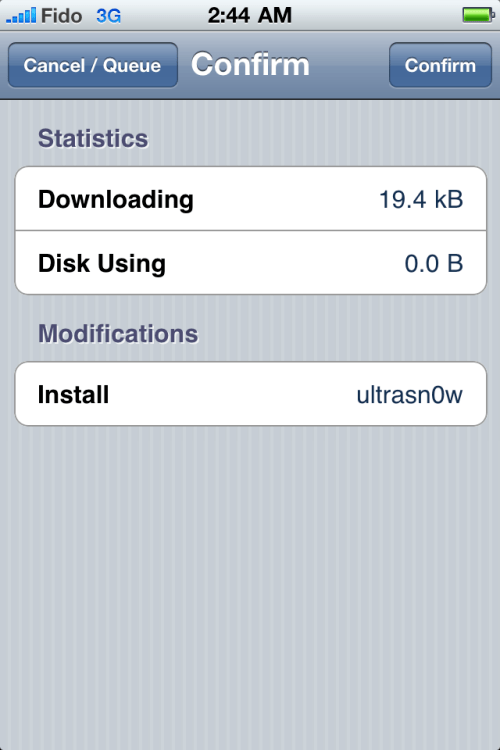
Step Twelve
Press the 
Confirm button at the top right of the screen.


Step Thirteen
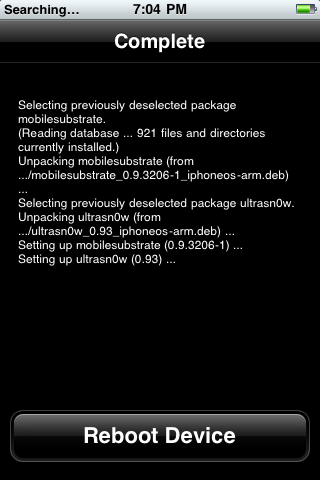
After installation completes successfully press the large 
Return to Cydia button.


Step Fourteen
Now press the 
Home button then power off and power on the iPhone. You do this by holding down the power button for 3 seconds then moving the power slider that appears to the right. Press the power button again to turn on the phone.


Step Fifteen
You should now be able to insert the SIM of your choice! 


***THANKS: A big thank you to all the members of the iPhone Dev-Team for all their hard work! It is much appreciated by all.